
Ok. So my original forty five year old fore hatch was leaking and being held together by the lens screws. The lens was a clear one or at least twenty five years ago it was clear. It needed to be replaced.
See, its old and crappy.

Disgusting. But I am sure it was gorgeous back in the day.

The wood has lost a lot of meat.

Because I am a lazy bastard who doesnt want to be a slave to constantly varnishing, I decided to do something different, something I have never done before; I am going to make my own glass hatch!
BANG!

BANG! For the shape I striped 3/16" G10, carefully cut to length. I held them away from the hull with 3/16" chair leg pads. That is not the real name for the pads but I have been drinking...felt lamp pads whatever. They are there to allow room between the hatch and deck for gaskets on the sides.

I glassed these together, in place, to form the beginnings of the best fore hatch in the history of Kentucky! This is the fragile result:

Another view...

And another with thickened epoxy curing in the corners to give it some stability.

Next up was to make something to epoxy my new frame to that would also be a seat for the new smoked lens. I was actually making all this stuff in a different sequence but I do not want to confuse you. So for the sake of the story I am simplifying it....or dumbing it down :)
Anyway, here is the makings of what I call "the lens seat".
I traced the new lens and then drew inner parallel lines. That is 1/4"x24"x24" G10 by the way...

Then I cut the exterior portions off. I used a 2x4 clamped in place as a guide and a tungsten grit blade in the jigsaw.

Then using a tungsten grit hole saw, I started the interior cuts. I bought a complete set of grit hole saws 3/4" up to 4". Cost is no concern for my baby! (but i have to say OUCH!)
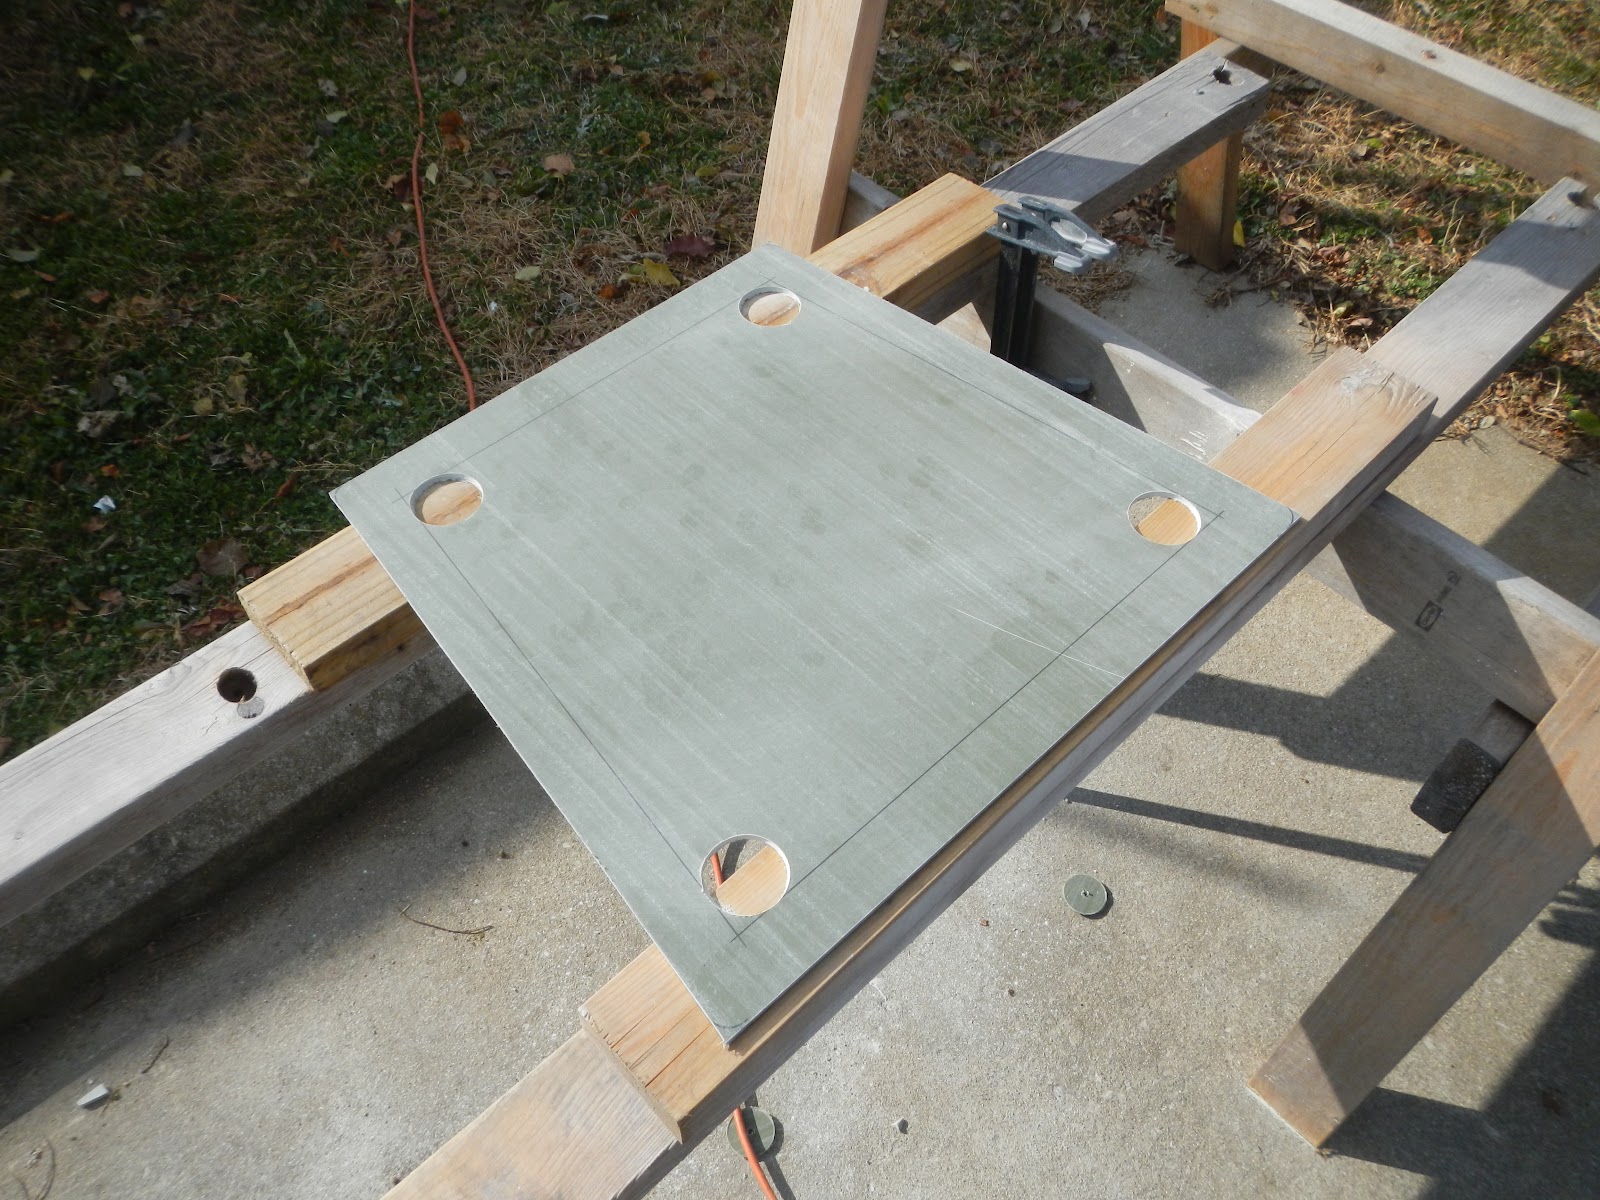
After cutting from hole to hole, this is the result! I rounded the corners after this pic...

After playing around with the pieces I have so far I realize there is a design flaw...

I knew this was coming but I didnt know exactly how much was needed. You can see the gap there, its 3/8". So I set about stripping four pieces of 3/8" G10 and cut/trimmed to fit to beef up the lens seat piece. They are slightly smaller, or inset, so that there is room for filler later.
First two epoxied in place...

And the next two pieces overnight...who snuck the bud light cartons in my house?!?!?!?

With that done I could tack the other piece on. It was getting cold so I used 207 hardener. Trying to keep the neighbor's dog from pissing on it was a challenge.

I then applied a couple rounds of thickened epoxy on the inner part and used a heat lamp to help it along because it was getting cold outside. 50's...brrrrrrr

Over the next couple of weeks I filled the exterior portions, sanded, filled sanded, filled some more and sanded some more...except for the aft side. That was going to take some special attention due to it needing to be....different!
Check it out so far...

and...

and...

the G10 cutting/ripping station....

Next was addressing the aft side. I need it to be solid, well more solid than the rest because it will be drilled through and bear the weight of the hatch on hinges.
So what I did was carefully rip this piece of G10 to fit and then epoxy in place. I didnt get a picture of the rip but it is a sharp angle on top that allows it to fit inside where it looks ill fitting in this pic:

I then epoxied in place and filled the gaps on either side...

It turned out alright, up to this point anyway....

Lens in place...test fit

I did not take pictures of the fairing out part of the work. Here is a pic of it faired out and ready for painting.

I need to drill holes for the lens and the hinges yet but it is 90% complete structurally. See that thing behind it? That is the new companionway hatch which I made simultaneously along with the fore hatch.
I had to stop construction (and the refit) here (mid Jan) because something big has happened. It is good news and I will tell you my secret after I fully update the blog!
Fair winds...._/)