
While building the fore hatch I was also simultaneously building a new sliding companionway hatch. It is not completely made from G10 but it is close.
What happened is that old original companionway hatch blew off of the boat during a storm and disintegrated. I built a temporary out of luan and pine which has kept the boat dry but wasnt going to cut it for anything else. So I got the bright idea to build one and what follows is that process.
The old hatch has seen better days. Yes, that is six peices....
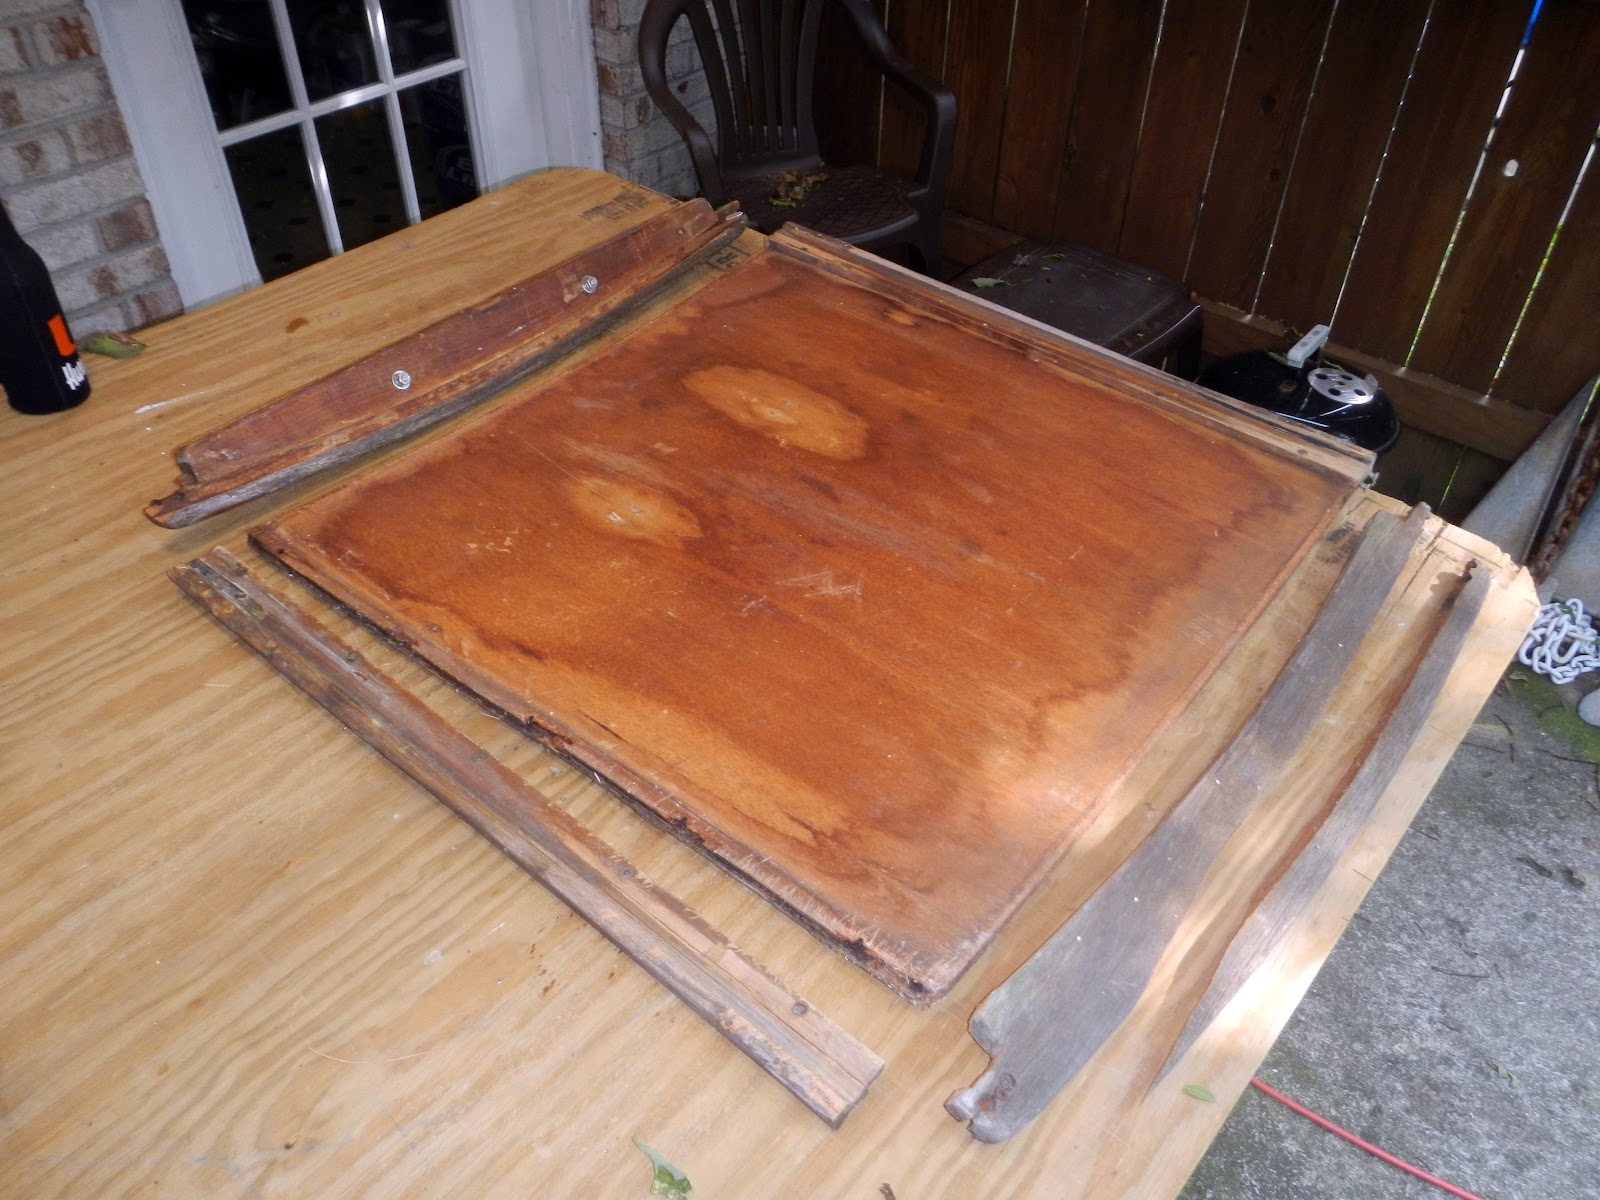
I wanted it to resemble the original as much as follows so I did some cyphering...

Traced the original fore and aft boards on G10. 3/8" for the aft and 1/4" for the fore.

Then I cut them to shape...kinda. I did some finer cutting after this picture was taken.

While that was going on, I also cut to length and striped in half a piece of 1-1/4"x1-1/4" G10 bar. The result was two 3/4"x1-1/4" bars and one very very tired table saw. Here they are...

I then took the four pieces out to the boat, clamped them in place, drilled the guide holes to assemble them by. Back at the boat yard...er...porch, I tapped the holes and assembled the frame using silicone brass screws. It is taking shape!

To stiffen it up I applied thickened epoxy on some of the joints and held it square using an impromptu jig.

Behold....

Next up was attaching a piece of oak 1/2"x3/4". This will allow a piece of plywood to be bent gently. Any thicker and it would interfere with the deck as it slides. Note the countersunk screws...

Back in the casa I let a cut to fit piece of 3/8" plywood relax for a few days in this position. I was very careful with my choice of plywood. It is not marine but it was expensive!

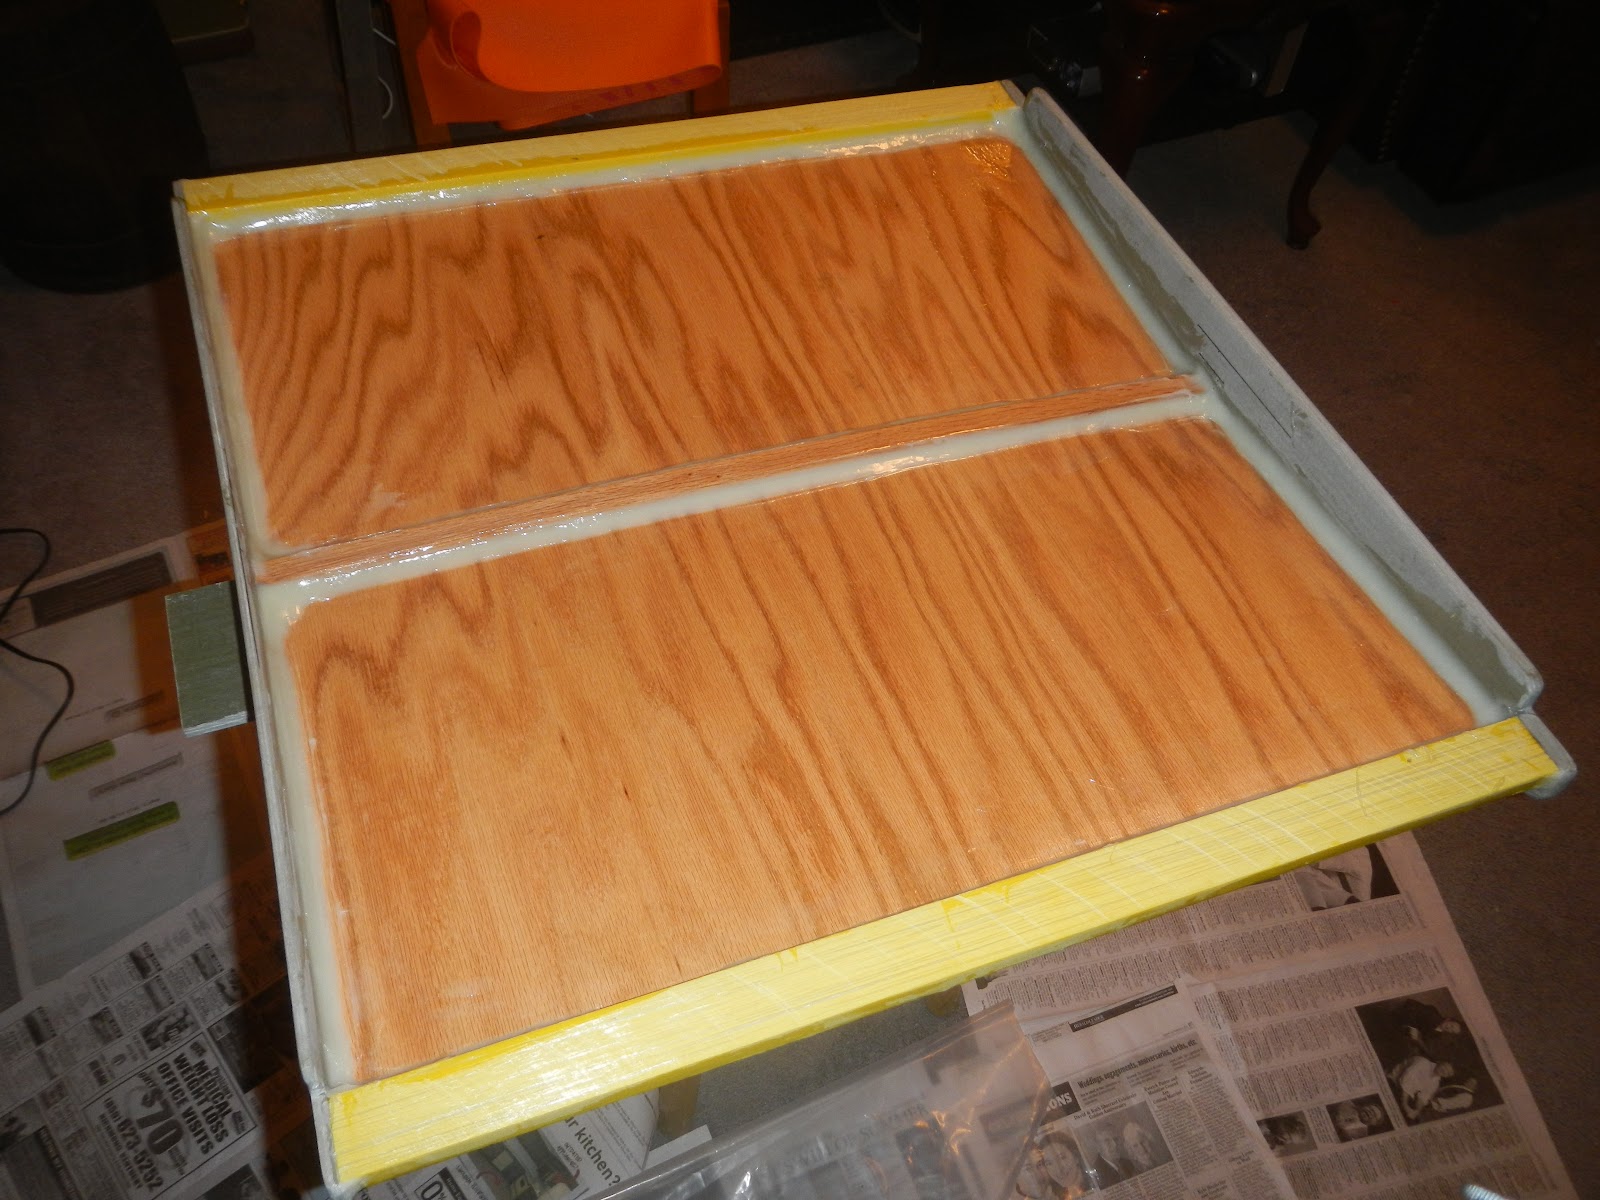
When I felt like it was ready, I epoxied it in place...on the top only...

LOOK AT IT! Thin coat on the wood...

Now for the underside...

BANG! Wood thinly coated...
Now back to the top. Two layers of 1708. Held down at the sides because it wrapped over to the G10 "runners" and didnt want to stay there. I applied some "discipline".

I love working with epoxy...

Best tool in my arsenal; Bar stool with a 24"x24" piece of plywood screwed down...get one!

This shit took forever. Every time I applied epoxy I had to let it fully set up because I was working during the day. I didnt have the luxury of applying the next coat or whatever in a few hours. The routine was epoxy, next day wash sand wash epoxy, next day wash sand epoxy blah blah blah. I was doing this for the fore hatch at the same time so it was a regimen of fore hatch today and companionway hatch the next and so on. I loved every single minute of it though.
Back to the story...here I have filleted in fairing filler on the bottom to smooth the transition caused by the oak stick. That is not just any old fairing filler though. It is the load bearing filler plus I poured the chopped glass to it. So before you cry babies complain...read the above!

And one layer of 1708 with a couple of neat coats...

Really super clean surface and really super chopped glass/colloidal synthesis to repair a cut imperfection...

After a night of drinking and thinking I realized that the height of the fore end of the hatch was too high...oh the irony! No seriously. I wish to have a seahood and my hatch will need to slide in the hood. So what do I do? I ground a 1/2" off of the fore end "board" like a boss!

and that is all I got done on the companionway hatch for the time being...

More to come....
Fair winds..../)