Check it

My photo
Florida flat-lander refitting an Alberg 30, hull #329, for an eventual circumnavigation of the globe and the journey of a lifetime before I get too old!

Sunday, October 16, 2011

Glass virgin no more!

Saturday started with some research and planning in preparation for fiberglass repairs of the three big holes in aft cabin trunk. Having owned boats nearly all of my life, I never once had to do any fiberglass repairs on any of them. Once many many years ago I helped my brother-in-law add some glass to his catfish boat to beef it up. Up to this point that is my only experience with it. I always keep my boats off of the rocks :)

When I asked a few questions on my favorite sailing forum I was rewarded with the knowledge of some of the best in the business! With the information I needed I was prepared to get busy but not until I drank a few beers and waste a couple of hours. Once my courage was at a sufficient level, I grabbed my grinder, loaded a 50 grit disk and did something I have never done before. I ground a bevel around the holes that would accept the repair glass. See!

"The Book" says that the bevel should be 12 to 1. Because of the adjacent trim and the curve that transitions to the roof, I had to reduce the bevel to about 9 to 1. I think it will be ok. The wind was really howling which carried away 95% of the dust so there was not much to clean up for a change.

This morning, while waiting for the weather to warm up, I cut the cloth (17oz mat backed biax) and balsa core plugs I would need. This was fun.

After a bit the thermometer read 60° which meant it is time to get ready. So I loaded up my little wagon with all of the stuff I was going to need and headed out to the boat. Do not laugh at my wagon! It has saved me and my back a lot of trouble. My mom painted blue. I would prefer red but out of respect for her it stays this gross shade of blue.

Ok, here is where it starts to get ugly. I remind you that I have never done this before so please be gentle! I started on the inside by wetting out the surfaces with neat epoxy including the exposed core. I then wet out the glass rounds and placed them over the hole. Then I wet out one side of the core plugs and placed them in the holes from the outside and pressed these together with my hands.

Because I was having trouble with runs I mixed my next batch of epoxy with some fillers. I used a 2 to 1 mix of 404 and 407 to a almost ketchup consistency. This might have been a mistake because it was almost too thick and I still had trouble with sag. In the following pictures you can see how ugly it turned out. Mostly because I had to continually push the round glass up when it would slowly slide down. Doing this several times on each one made it look sloppy.

The inside looks better but I made a boo boo in there by applying some of the thickened epoxy to one of the patches. That was not a good idea because it was getting too tacky to spread. You should be able to tell which one it is. I finished by giving everything a thin coat of neat epoxy.

So there it is! Not perfect but not too bad considering I have no experience with this type of work. I will pay for my mistakes later when I have to sand and fair these in. I found it interesting just how much filler it takes to thicken epoxy. Good thing it is cheap compared to the resin. I am proud of myself for not getting any all over me and none in my hair!


Thiokol - Satan's caulking

Friday was spent removing the stern tube and the thiokol that had a titan's grip on it. Thiokol is a grey, hard yet rubbery substance that is also sticky kinda. It is unlike anything I have ever worked with and I hope this is the last time I ever do.

I started by putting a socket wrench on the one remaining bolt holding the stern tube to the deadwood. With about two pounds of pressure the very top portion of the head of the bolt disintegrated. Out comes the Dremel Tool to cut off the bolt which went smoothly but not the way I wanted it to do this. Once it was ground down and looked like the other broken bolt I tried to pry the stern tube out of its hole. I could get it to move about a 1/4" and when I let it go it would snap back in as if it were held in by something rubbery. I knew then that I was going to have to remove the rubbery devil's caulk.

I spent the rest of the day, about five hours, laying on my stomach on this board scraping, cutting and cursing.

This is the point at which I was able to pull the stern tube out. Four inches of thiokol removed.

And the stern tube. You can see that is had a black rubber gasket around it aft end which reacted with the thiokol. It also had a large amount of what I think was burnt oil which I found to surprising.

With the tube out I returned to my oh so comfortable board to remove the rest of the thiokol. After a couple of hours fighting this stuff I decided to just take out what I needed to in order to make future stern tube repairs. It is not a perfect job but by this time my hands were killing me. I may finish talking the rest out later but this is what it looks like now.

I have all winter so maybe I will find a reason to punish myself and get back in there and get the rest out.


Thursday, October 13, 2011

Sailboats are living beings!

What? Yes! This somewhat abstract idea is especially true for a boat that will be lived in and depended upon to cross bodies of water of any size. This idea may even explain why we, the lovers of boats, give them names. If a sailor finds himself in trouble he may call for a rescue. Before they do though, if they are a true sailor, they will talk to their ship, give it encouragement and trust it as if it were their mother. If this fails they might call to their God or Neptune to give the vessel guidance and strength before sending an SOS.

What I am really talking about though are the complexities of a sailboat. There are so many things interconnected above and below decks that influence an ever expanding matrix that might be compared to a human body. If your neck is sore or your hip has a pinched nerve, it can affect your feet. A sailboat has the same sort of nervous system. If something is not right at the masthead it can cause problems elsewhere that could sink it. Just as a person needs to take care of their body, a sailor needs to take care of their boat.

That is where it really gets complicated. A boat designed to cross oceans and sustain people while on the trip is complex. Even in a simple boat without refrigeration, electronics or a shower! Some sailors will go to great lengths to make their boats nearly alive with systems that make life aboard easier and in doing so compromises their own safety. Some will do the opposite yet neglect to address the integrity of the vessel and sail in to the sunset with no idea that their ballast or rudder is about to fall off.

A sailor is the heart of a sailboat and the sails are the wings. The little things like an misaligned prop shaft or rotten core beneath a cleat can test that connection between man and ship. A sailor that takes care of his vessel and knows it's capabilities versus one that does not will go farther and be much safer. This is what makes sailboats living beings, the sailor.

Tuesday, October 11, 2011

Carbide...dont leave home without it!

Ahhh the lovely weather we had here in Kentucky this past weekend! Considering how nice it really was, I should have got done a lot more than I did. Getting totally hammered Friday night didnt help. Hey, all work and no play makes Jimmy a dull boy! Now that I got that out of my system and finally over the flu I look forward to some serious progress in the coming weeks. I work four days and off three so I am out of excuses!

Friday I wanted to determine what the configuration of the engine mount beds were going to look like. I already knew from removing the old motor that it was going to be a tight vertical fit at the aft mounts. So, in order to confirm and take measurements, I built a template of the new motor mounts for the Beta16. Here it is:
The 2x's on the sides were striped down to 3 inches which puts the bottom sides at the mean of the vertical range of the mounts. They are also marked on the sides with the centerlines of the mounts and cut to length of the beds giving 2 inches to each end from the farthest mounting bolt. The 2x4 sticking out of the end with the supports simulates the face of the motor side coupler. I was going to cobble a notch thingie that I would mount on that 2x4 that would then slip over the coupler on the shaft and would support the whole template. Before doing that I decided to take it to the boat and perform a rough check before going through all that trouble. I am glad I did because when I held it in place on the shaft coupler there was 1/4" of "mount" between my template and the hull on the aft ends. The forward ends were fine. This means I am going to have to have special mounts fabricated. No problem but I need to decide how much vertical relief I am going to need. I set everything aside and called the Beta dealer to make sure that mounts that rise up 2 or 3 inches will not interfere with anything on the motor. He assured me that there was nothing to worry about. After much thinking I have decided to wait until I have the motor in my possession before going any further and possibly screwing up. After all, I might have to move the motor forward.

On Saturday I was pretty hung over but I did make an effort. I started by trying to remove the prop shaft. I wrongly thought that I could simply polish the scale off of the outboard end, oil it up and pull it through the tube from the inside. WRONG! After a lot of wasted energy I figured out it was not going to happen like that. The stuffing box was fused together solid so I had to go for the weakest link...the housing hose. The forward hose clamp was new and easy to loosen. The aft clamp was old, probably original and buried in a semi-solid goo. Not in a mood for being gentle, I cut this old clamp with a dremel. After making the cut I straightened up and kinda lost my balance. To catch myself I instinctively grabbed the prop shaft. Well now that it was basically unattached that was the wrong thing to do! Me and the prop shaft both went tumbling into the saloon backwards. Luckily I still have my front teeth! Here is the proof of the prop shaft removal. The old housing hose. This HAD to be original which makes it 43 years old.


And the prop shaft


And the shaft log


On Sunday I started by removing the old gas tank. There is talk on the A30 list of a group buy of Moeller tanks. In that discussion one gentleman mentioned that ten years ago he installed ten or twelve metal tanks that sat on the shelf in cockpit locker of those boats. Well, I think my boat was one of those that he installed the tanks in. This tank looks identical and was mounted the same way that the group is discussing. Here it is already unmounted:


And out


It is in good shape (I think) so I might keep it for kerosene. Since five gallons of kerosene will probably last me a year, an eighteen gallon tank might be too much though.

I finished the day by removing all exterior gear that had bolts extending in to the saloon/galley. Things like cabin top winches, turning blocks, fairleads and dodger snaps. Most of the nuts came off without a second person (Ha!) outside with a screw driver despite the thick paint on the bolts. For the stubborn ones I rigged up a telescoping shower curtain rod as a stop for small vise grips on the nuts. I then climbed out and turned the bolts with a screw driver until I heard the vise grips fall off with the nut in tow. I did maybe 15 like this. No pictures of this ingenious operation.

I also removed the instruments from the aft cabin trunk. These were not sealed in any way! No gaskets, 4200, 5200...NOTHING! Not even the dreaded silicone which seems to be on everything else! What is even more amazing is that the core around the holes appears to be pristine! I dont get it. See for your self...


Three big vertical cored holes. On these I will cut my glass work teeth on. Piece of cake! lol


Oh, and I attempted (ATTEMPTED) to countersink some of the bolt holes. I found out that non-carbide countersink bits will not even countersink one hole in fiberglass, much to my chagrin. With this discovery I called it quits for the weekend.

Monday, October 3, 2011

The 2 week blogger strikes again!

Another two week update. I really need to stay on top of the blog a bit better. In my defense I have been really sick. I know, I know, I have already used that excuse! Oh yeah, the weather has kinda sucked too.

The weekend before last, I didn't get as much done as I would have liked but here is what I did do:

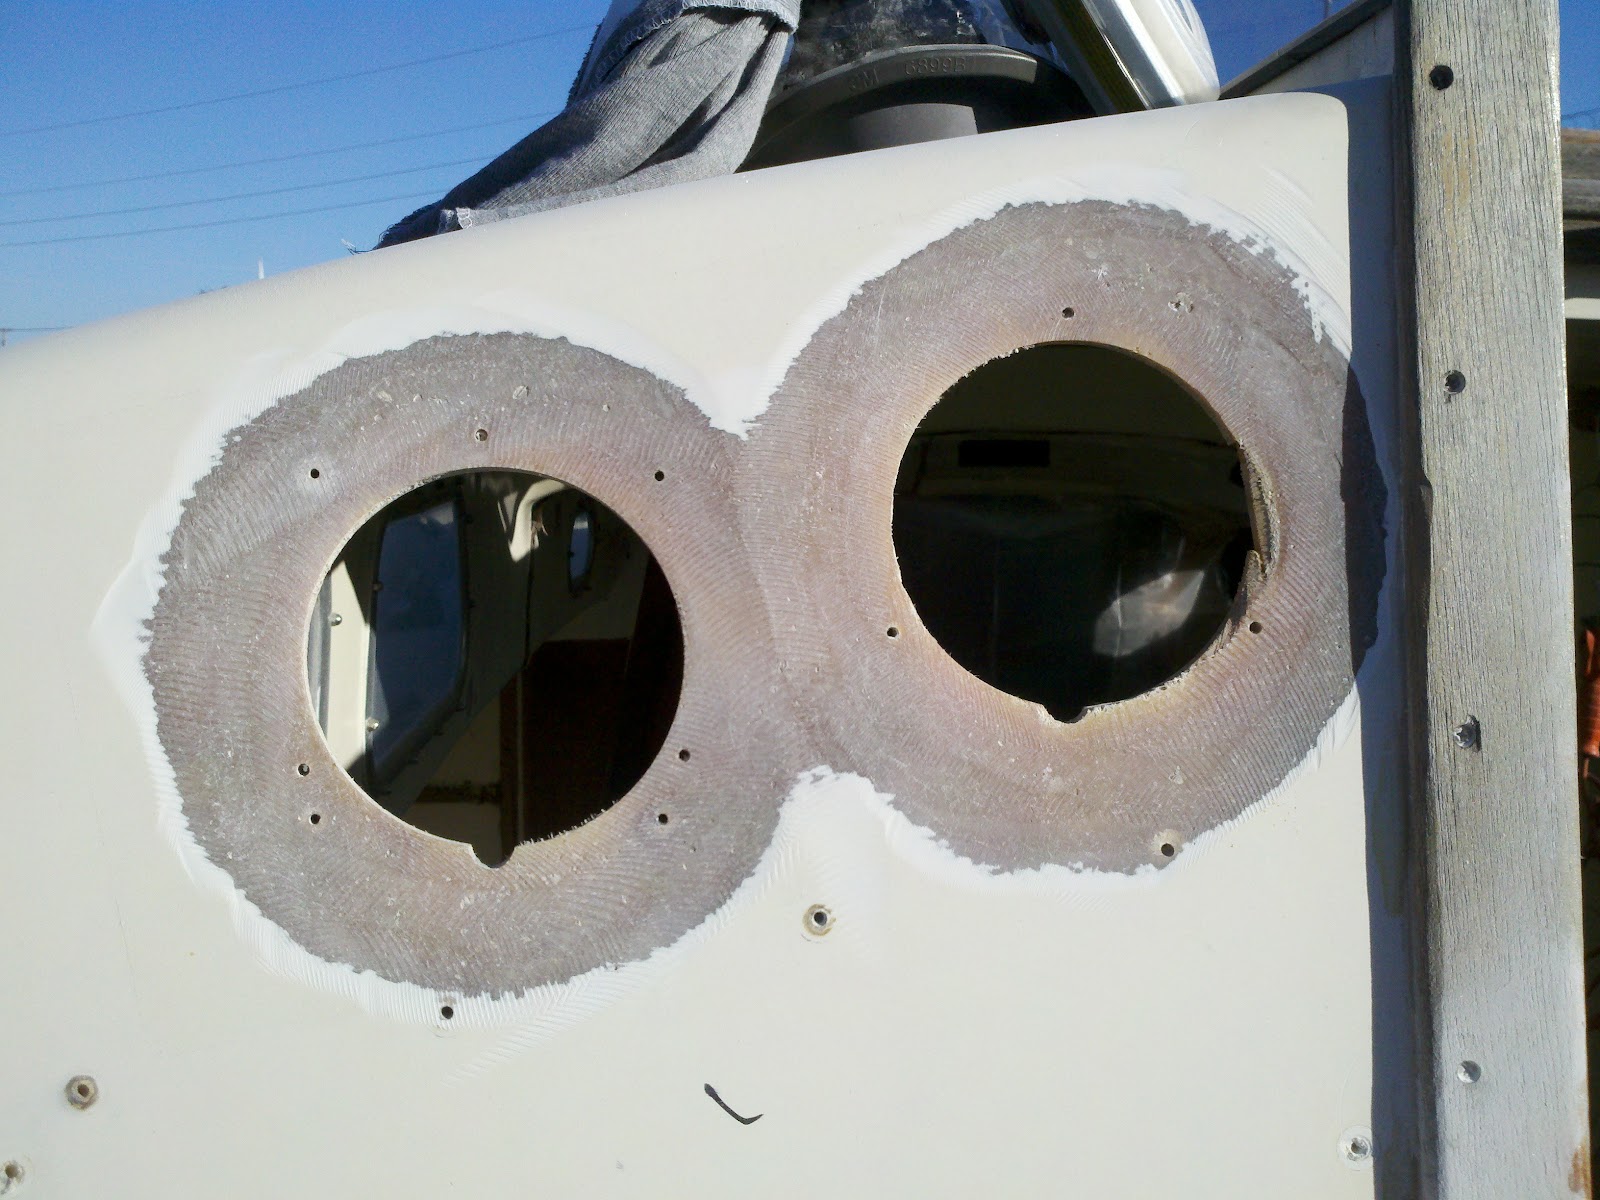
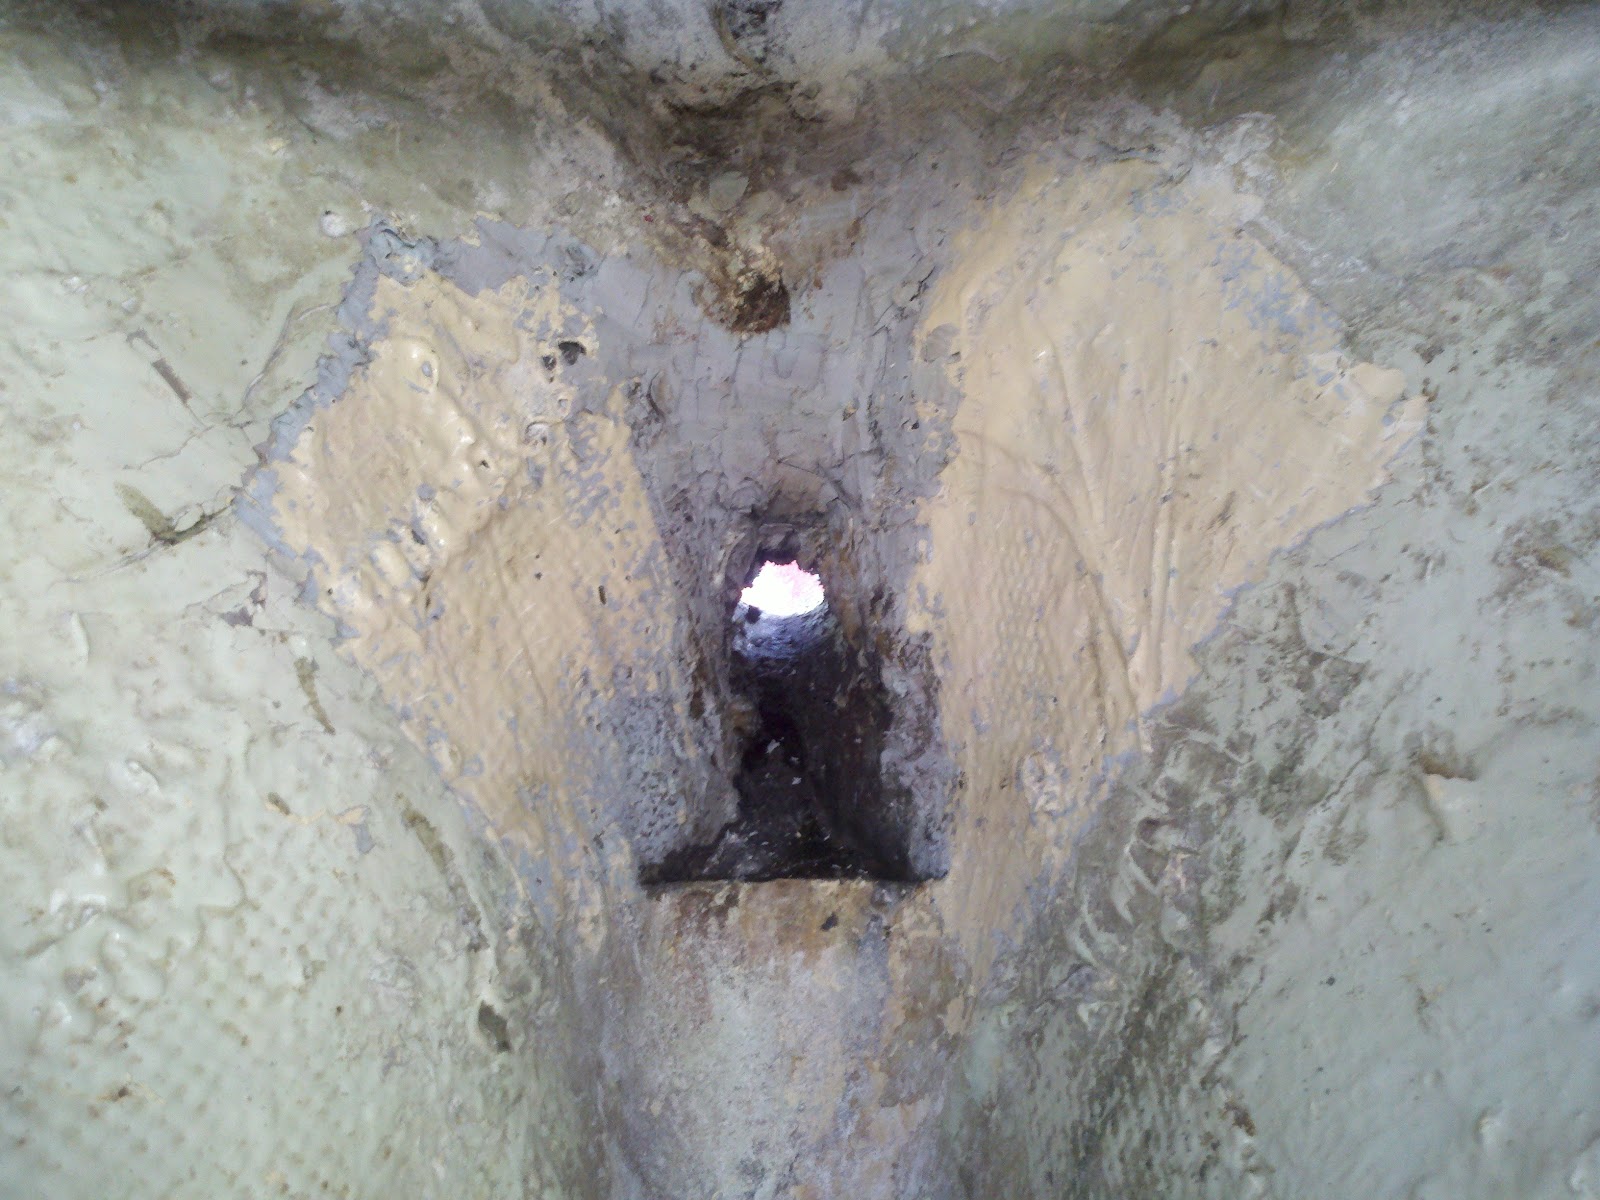
First thing was to drain the bilge which was collecting water from all the rain we have had. Because I wanted to install a garboard drain I decided to measure for it and drill the pilot hole and use that as a drain for now. I carefully measured inside the bilge so that the drain will sit right at the lowest point and then transferred those measurements to the outside using the old engine water intake as a point of reference. There was a bit of guess work involved here because the intake was on an angle. I nailed it though! After drilling the pilot hole, I went back in the boat and measured from the hole to the bottom of the bilge. 1/2" exactly, just as it should be for a 1" garboard drain. This is the garboard drain I am going to install later:


And here is the pilot hole I drilled. This picture tickles me for some reason...


Once the bilge drained I got busy cleaning it. The stuff I scooped out was a "sweet" smelling mixture of oil, dirt and what I think was the remains of years of leaking sewage which accounted for the smell. I also found all kinds of other stuff that I am sure someone cursed over having dropped it down there. It all went in the trash though. After that I plugged the drain hole and filled the bilge with clean water and a mixture of detergent and oxy-clean. This I will let sit and do its magic for a week or so. No pics, sorry.

On Sunday, I removed the forward starboard saloon bulkhead. It is not a structurally bearing component, dont worry. It was glassed in where you see the paint color difference.


Here it is out of the boat


I also removed the sewage holding tank which to my dismay was full of sewage! I could not just open a valve and let it drain where the boat sits. My neighbors would have a cow if I did that but it sure would have been a lot easier. No, I had to pump it out using a drill powered pump, two pieces of old hose and a five gallon bucket. This might have been the nastiest task I have ever had to doo, pun intended. I first pumped out the liquids and poured it in the woods in two trips. I then had to disconnect the numerous hoses without the "solids" escaping. No easy feat and in the end I failed. Solids got everywhere inside the locker but I did manage to keep it to a minimum at first. I say at first because after getting the tank out of the boat I returned to go at the hoses which were clogged as it turned out. The first one I touched let loose of a wad of the foulest, grossest and ugliest nastiness, much to my surprise. Fortunately, I was somewhat prepared because I had just cleaned up the previous mess so I had plenty of towels handy. The gag factor was 10 of 10 and luckily for you readers I do not have pictures of all the gory details. I do have these though :)

The locker minus the tank but with the hoses, all sparking clean again


And the offensive tank out of the boat


This whole sewage ordeal convinced me that holding tanks are the devil and are not a good idea for a small boat. I will be installing a new fangled composting head like this one. That was it for the weekend before last.

During the week I sprayed the prop twice a day with PB Blaster in anticipation of removing it. On Thursday I put a prop puller on it and put a full load of pressure on the prop with no results. I tapped it a few times but it was not budging. Rather than ruining my nice 3 blade prop I decided to let time do its thing and left it with the puller fully loaded. I kept up the daily routine of spaying blaster on it until Saturday morning. That is when I walked out to check it and found that it had popped off during the night. Thank goodness because I had my grinder in hand and was about to cut the shaft rather than wait any longer. I wish I took a picture of it hanging there because the sight of it made me feel like a genius! I have these though, the shaft:


And the prop:


With that success I was feeling pretty manly so I started in the boat by sawing out the old engine beds and grinding the area flush with the rest of the hull. Here is the finished results:


I have found out that grinding makes a huge freakin mess and should be avoided if possible. Sadly, it is not possible to avoid it though. I did wear a tyvek suit, hood and 3M 6900 respirator so that I didnt breath or get covered in the fiberglass dust.

I next turned to removing the rest of the sewage system. Since it had set for a week, all of the remaining wet nasty stuff had dried up making the job a tad bit more enjoyable. There was still a little bit left in the bottom of the toilet but I was extremely careful and didnt spill a drop. That is until I tossed it out of the boat. When it hit the ground the shit hit the fan so to speak :) Here is the head compartment minus the pooper/hoses:


Yesterday (Sunday) I made getting the rest of the old woodwork out of the boat my priority for the day. It took all day so good thing I started early. I got it done and now I have a clean slate to work with when I start grinding off all of the old paint in the saloon and galley. Here is what the interior now looks like:


Getting rid of the head compartment and hanging locker really opens up the interior and makes the tiny saloon seem livable. Done for the weekend.

Today in the mail I received a pair of new winches that I won last week on Ebay. I virtually stole these! Brand new, in the box, Lewmar 40ST Evo's! These sell for $1100 each. I paid $550 and $565 in two separate auctions 20 seconds apart at 4am in the morning last Sunday. If the auctions had ended at a time when people are actually awake they would have sold for a whole lot more than what I got them for. Two for the price of one! The early bird got the worm! I unpacked them, inspected, repacked and forgot to take a pic. They are very very heavy and I am lazy so here are the boxes :)


I promise the next update wont take two weeks. It also will not take two hours to write up!