
When I asked a few questions on my favorite sailing forum I was rewarded with the knowledge of some of the best in the business! With the information I needed I was prepared to get busy but not until I drank a few beers and waste a couple of hours. Once my courage was at a sufficient level, I grabbed my grinder, loaded a 50 grit disk and did something I have never done before. I ground a bevel around the holes that would accept the repair glass. See!
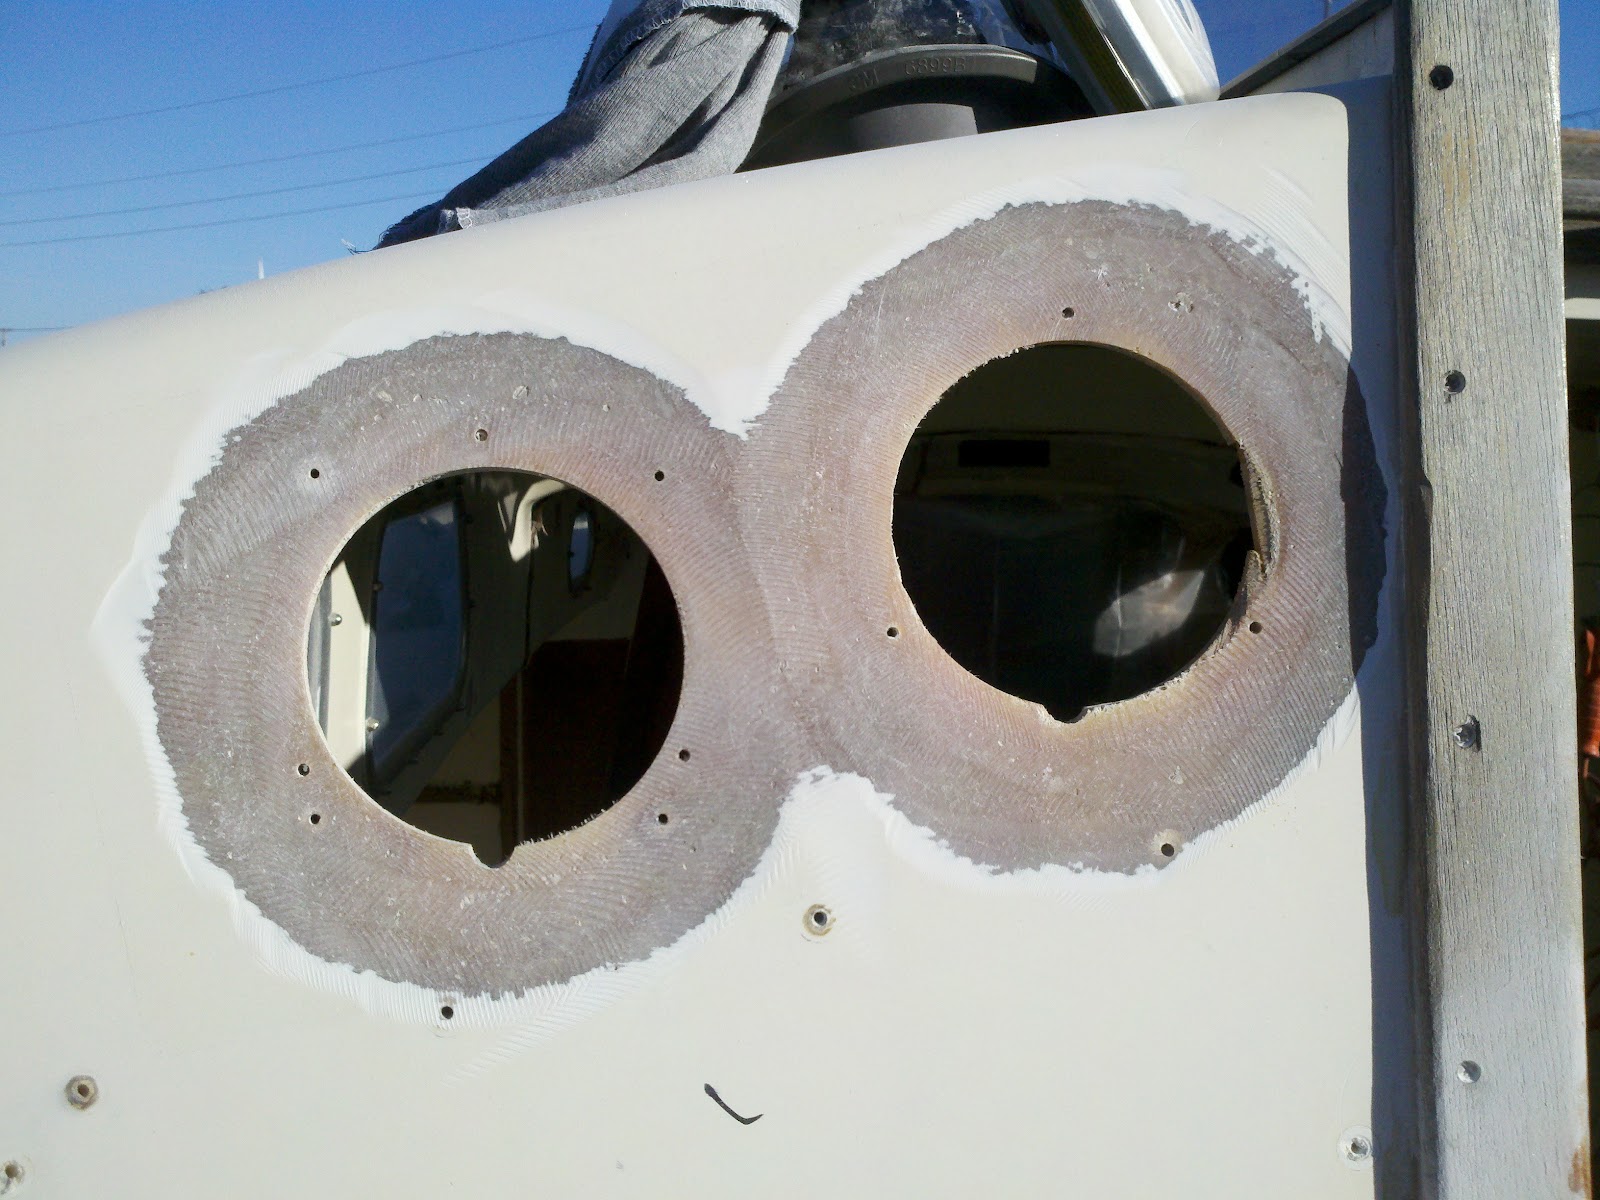


"The Book" says that the bevel should be 12 to 1. Because of the adjacent trim and the curve that transitions to the roof, I had to reduce the bevel to about 9 to 1. I think it will be ok. The wind was really howling which carried away 95% of the dust so there was not much to clean up for a change.
This morning, while waiting for the weather to warm up, I cut the cloth (17oz mat backed biax) and balsa core plugs I would need. This was fun.

After a bit the thermometer read 60° which meant it is time to get ready. So I loaded up my little wagon with all of the stuff I was going to need and headed out to the boat. Do not laugh at my wagon! It has saved me and my back a lot of trouble. My mom painted blue. I would prefer red but out of respect for her it stays this gross shade of blue.

Ok, here is where it starts to get ugly. I remind you that I have never done this before so please be gentle! I started on the inside by wetting out the surfaces with neat epoxy including the exposed core. I then wet out the glass rounds and placed them over the hole. Then I wet out one side of the core plugs and placed them in the holes from the outside and pressed these together with my hands.


Because I was having trouble with runs I mixed my next batch of epoxy with some fillers. I used a 2 to 1 mix of 404 and 407 to a almost ketchup consistency. This might have been a mistake because it was almost too thick and I still had trouble with sag. In the following pictures you can see how ugly it turned out. Mostly because I had to continually push the round glass up when it would slowly slide down. Doing this several times on each one made it look sloppy.


The inside looks better but I made a boo boo in there by applying some of the thickened epoxy to one of the patches. That was not a good idea because it was getting too tacky to spread. You should be able to tell which one it is. I finished by giving everything a thin coat of neat epoxy.


So there it is! Not perfect but not too bad considering I have no experience with this type of work. I will pay for my mistakes later when I have to sand and fair these in. I found it interesting just how much filler it takes to thicken epoxy. Good thing it is cheap compared to the resin. I am proud of myself for not getting any all over me and none in my hair!
Thanks for posting this, I have an almost identical hole I need to fill at some point in time.
ReplyDeleteI'm enjoying the blog. Nice A30! Looking forward to future updates! Cheers.
ReplyDelete